


STEP ONE: Prep Your Images
- Using Adobe Lightroom, choose the series of photos you want to use for your gif. For this tutorial, I chose a 1×1 crop, although any ratio will work.
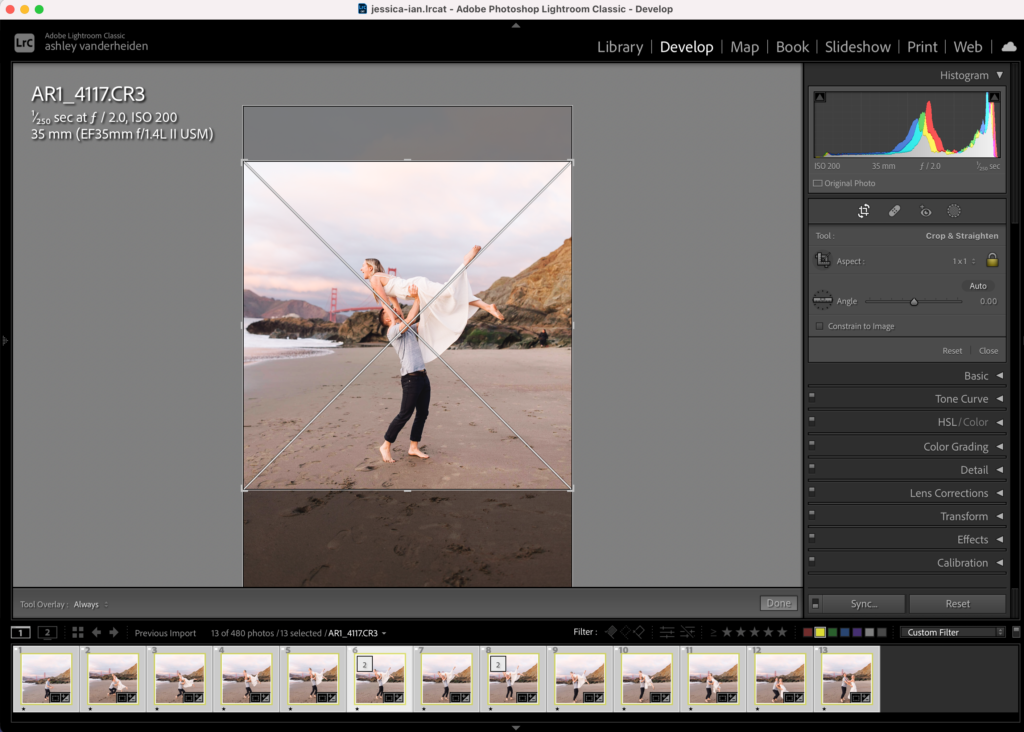
- Apply the crop you chose to to all your photos. Do this by: command+a -once they re all selected, select sync. (Pictured below)
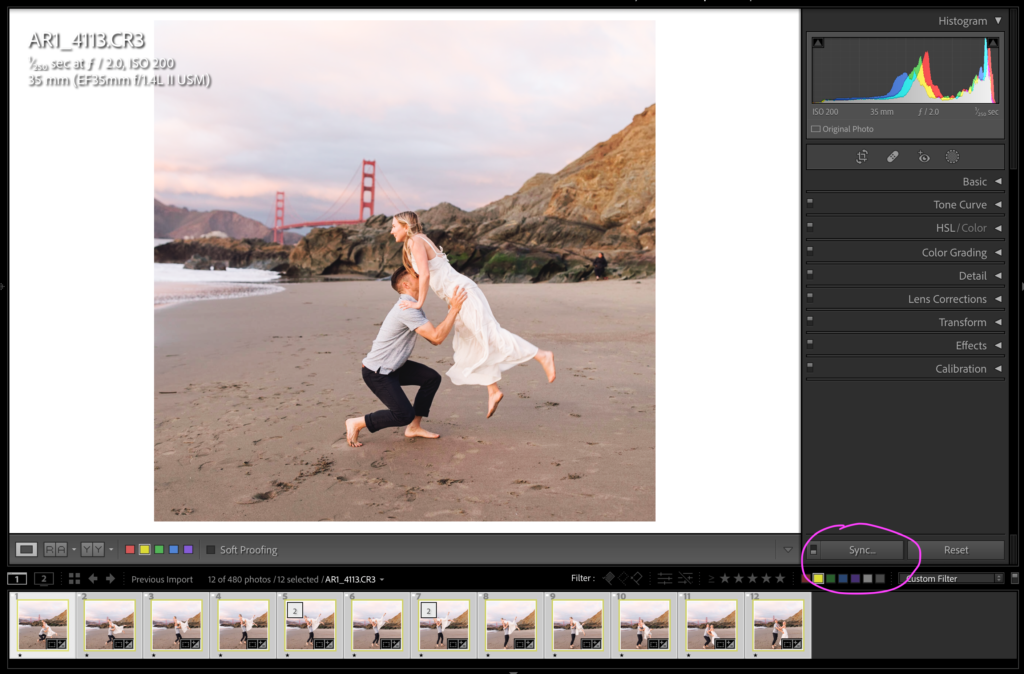
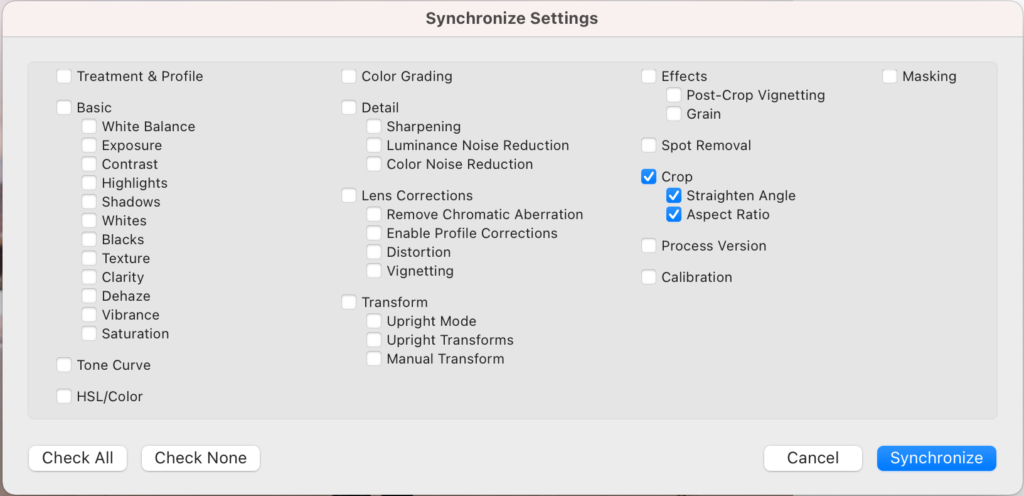
- Select Crop, straighten angle and Aspect ratio should also be selected. Then click synchronize.
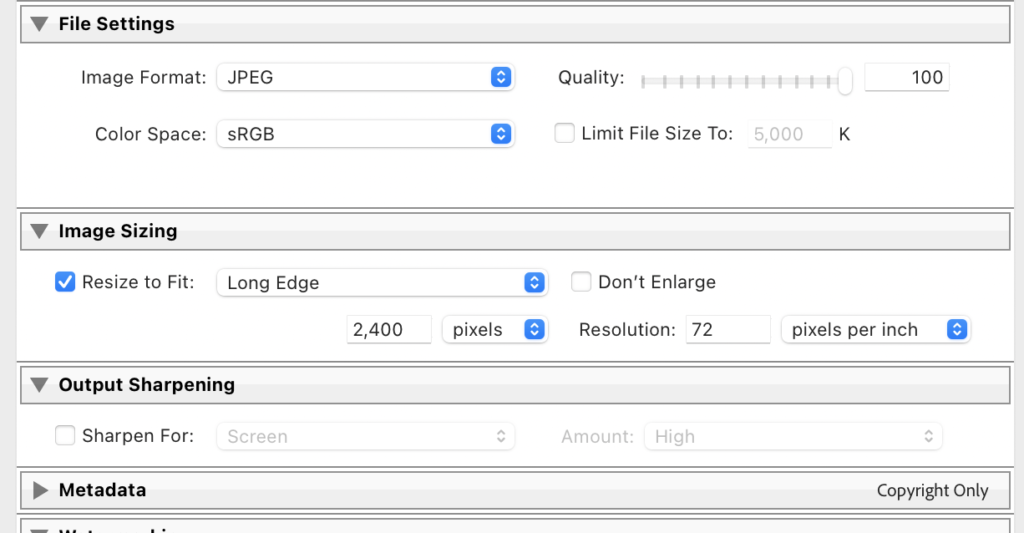
- Now that all your photos are cropped the same, export them to your desktop Settings for web: 2400px long @72ppi)
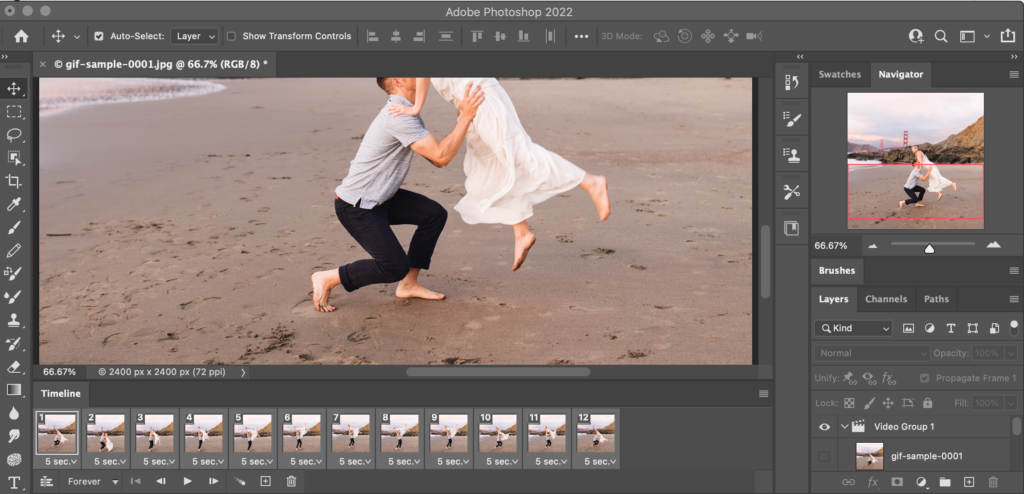
STEP TWO: Creating your GIF in photoshop
- Open photoshop
- Select the first photo in your series of exported photos

- Drag and drop your photo onto your photoshop app on your desktop.
- Now your photoshop canvas is automatically the size of the image.
- Go to Window and select Timeline
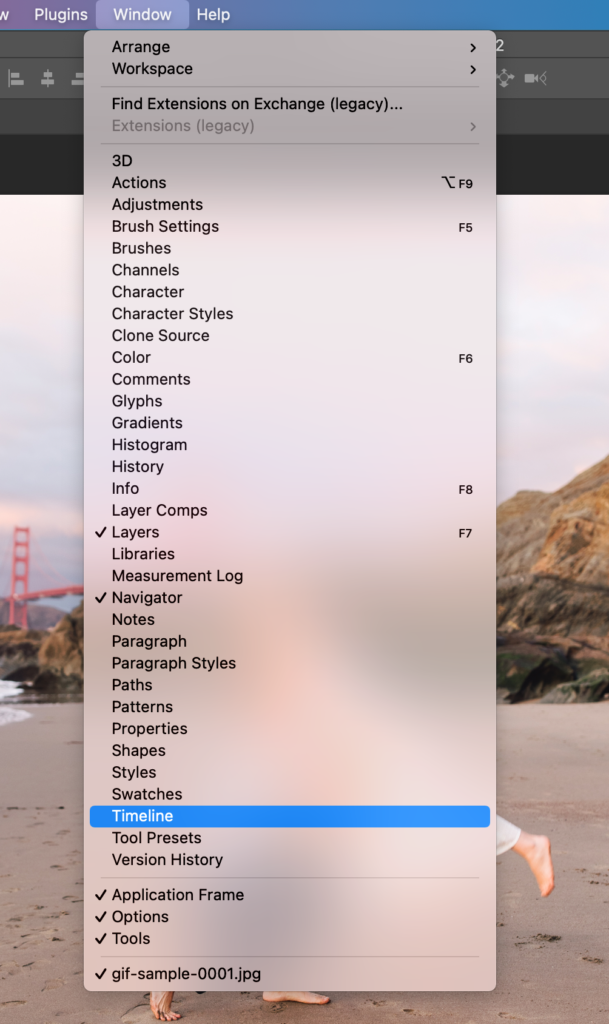
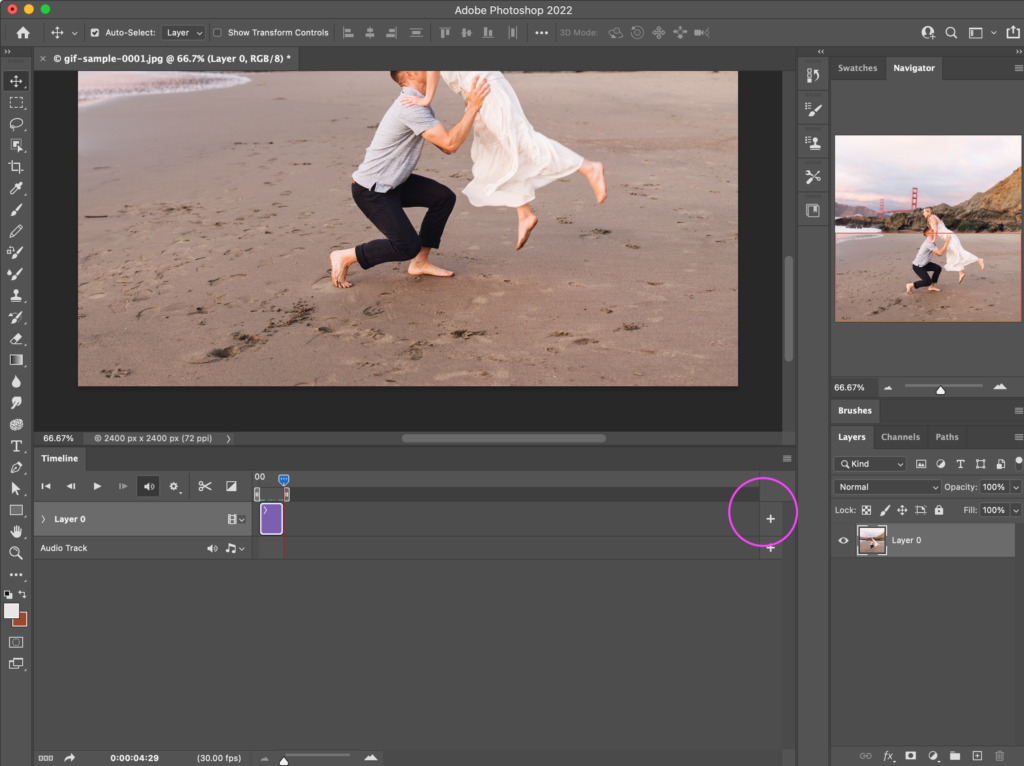
- Click: Create Video Timeline
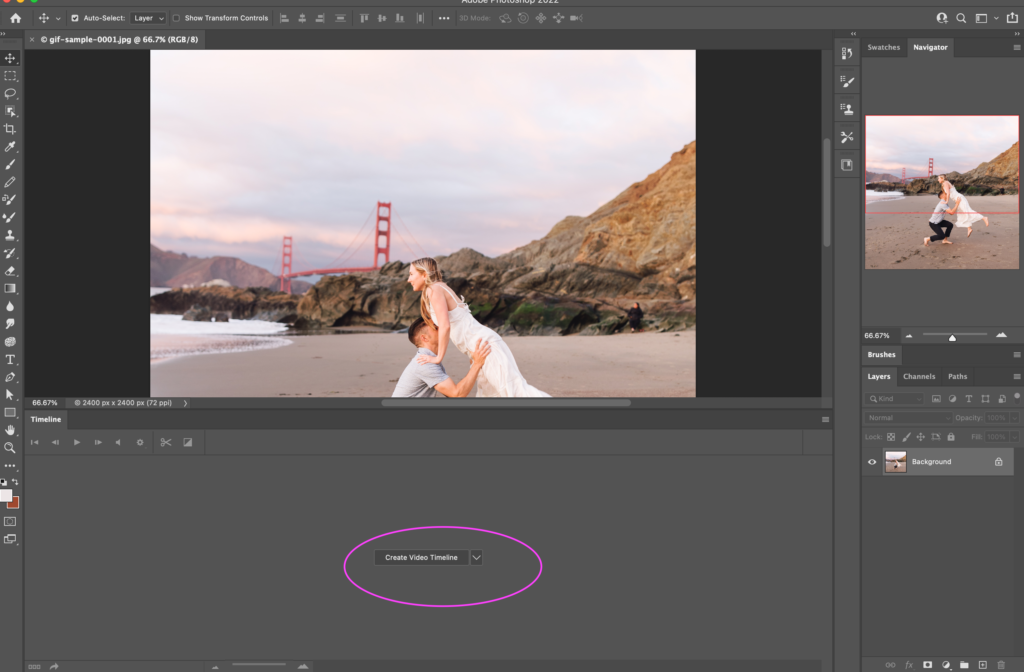
- Drag the red curser to the end of your first clip on the timeline.
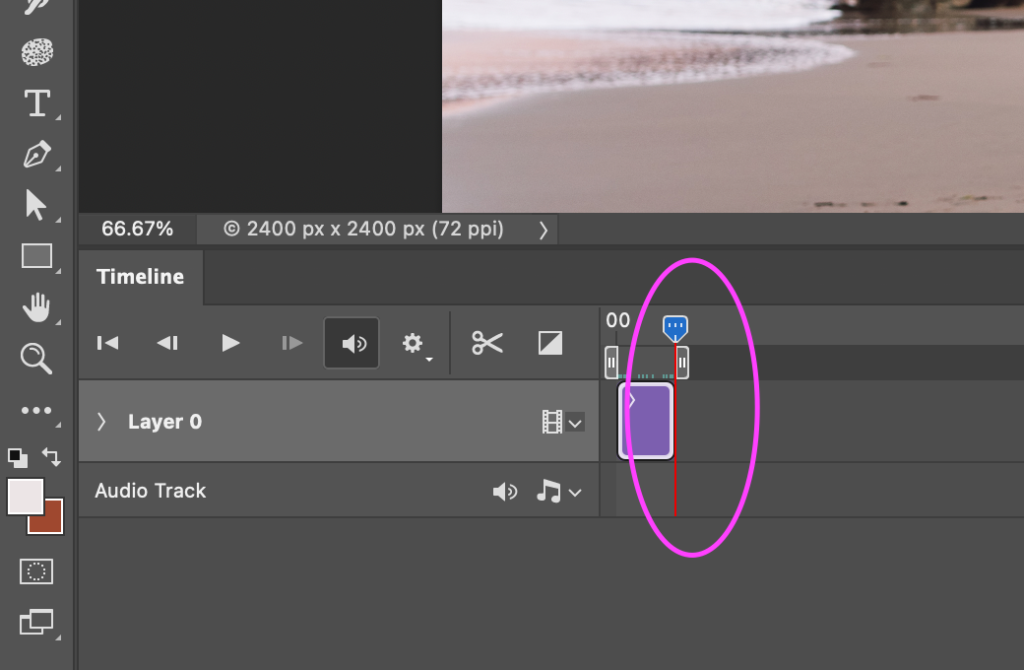
- Then click the plus icon to the right of the timeline strip
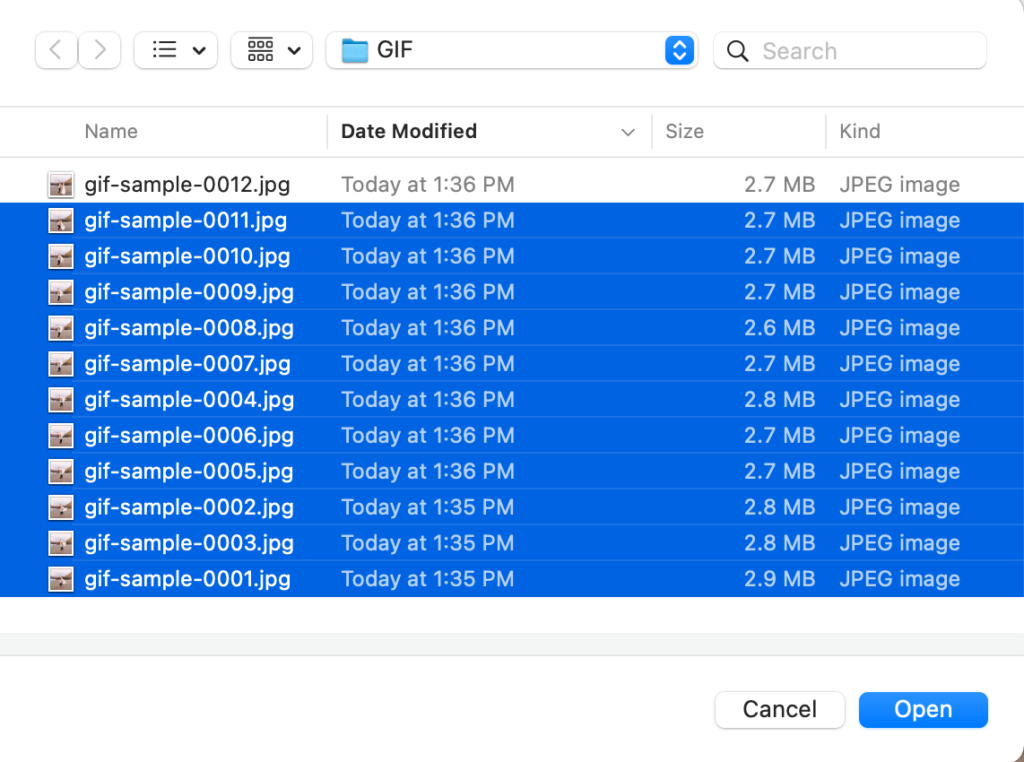
- Navigate to your folder of cropped images, and select all the photos except the first image you opened in photoshop. Click open
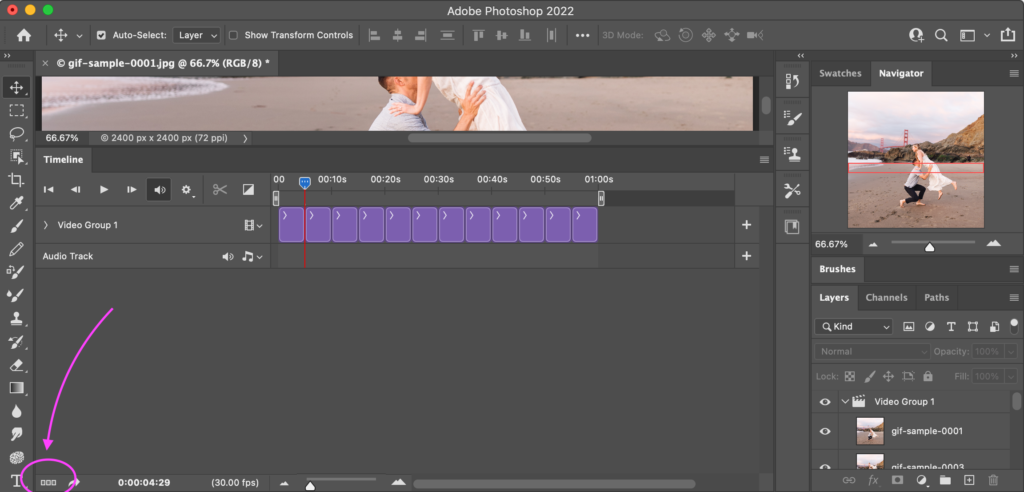
- Now all your images should be loaded onto the timeline.
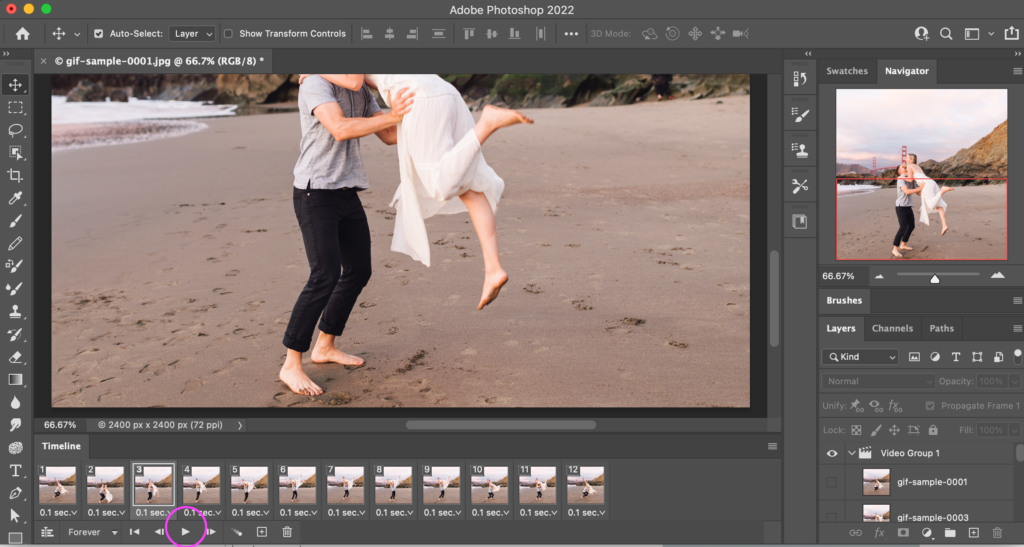
- Next, “Convert to frame animation” by click the three boxes in the lower left of your photoshop window
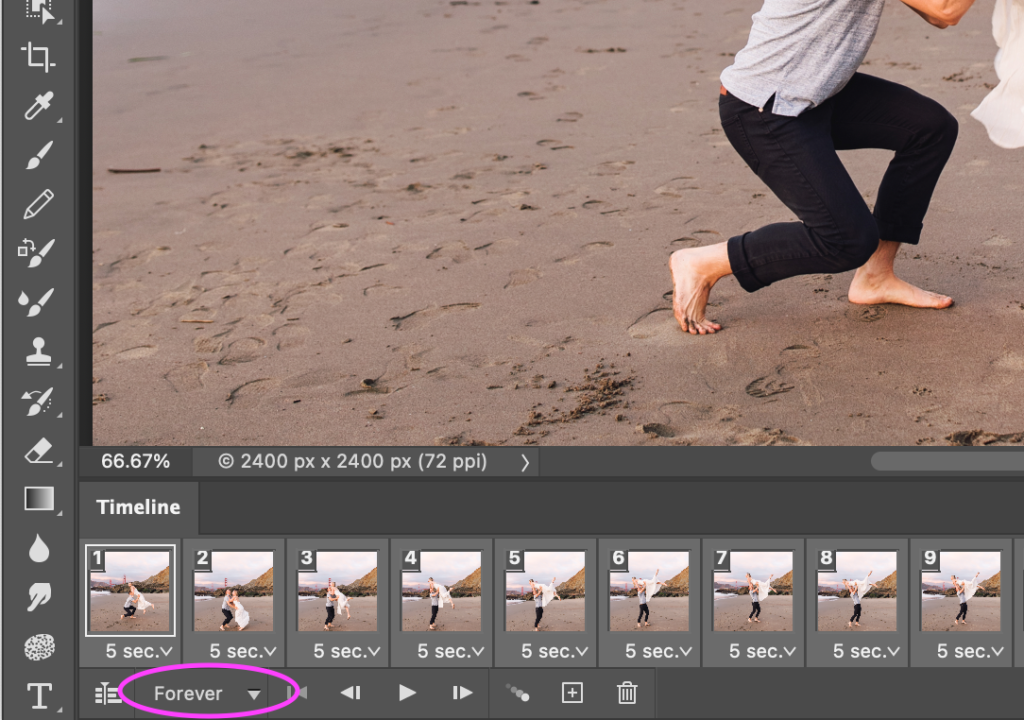
- Select all the thumbnails on the timeline so they are highlighted
- Make sure that forever is selected
- change the first thumbnails time by clicking the arrow next to 5 sec.
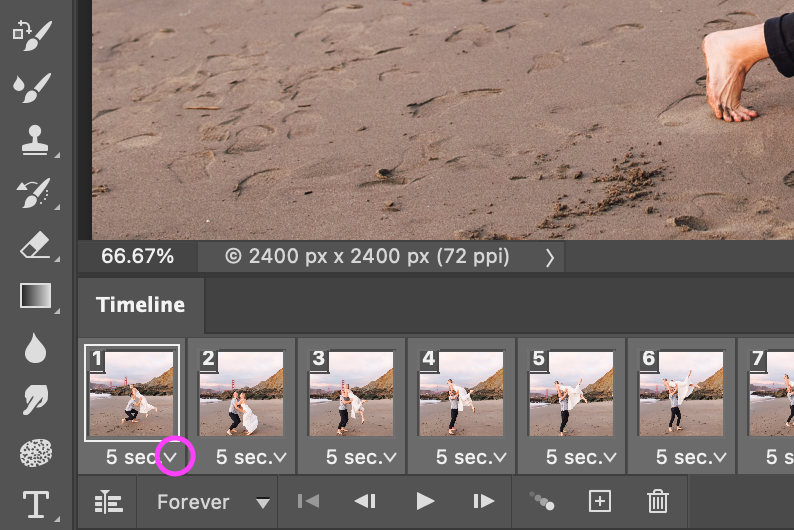
- In dropdown, Choose .01 seconds, or the amount of time you want between frame.
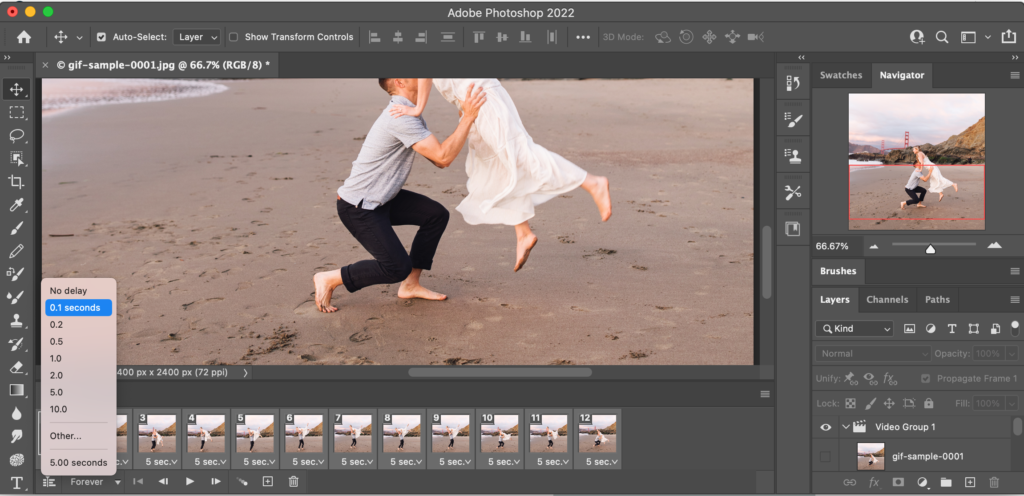
- Press play to make sure you like the tempo
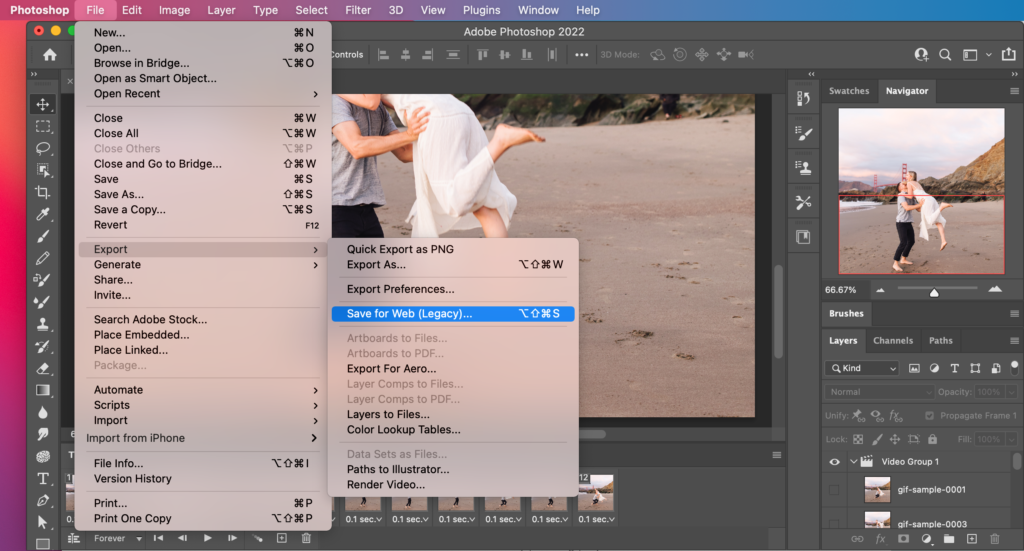
STEP THREE: Exporting your GIF
- Go to: File/ Export / Save for Web
- (Note this what I have found to work for me, I know there are tons of great ways to save a gif)
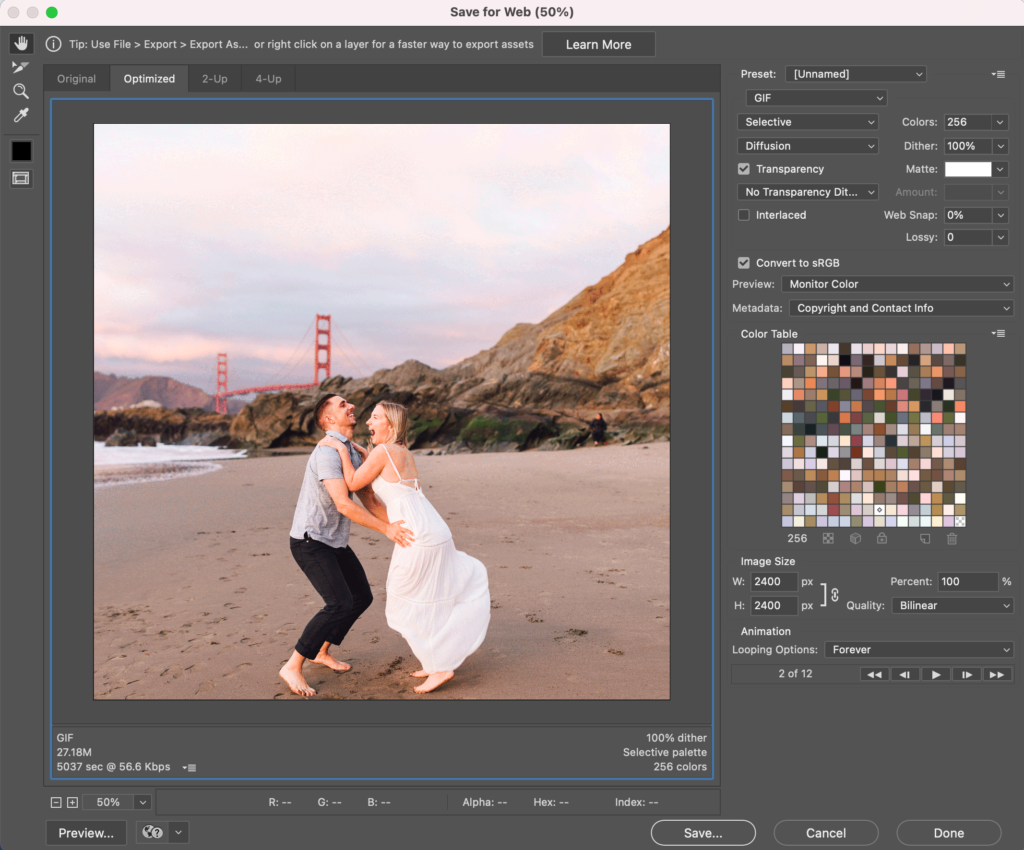
- Copy these settings, also pictured below):
- GIF
- Colors: 256
- Dither: 100%
- Looping options: Forever
If you liked this blog post, chances are you’d love this FREE Instagram Seamless Slider Template as well! Click the button below to sign up for my email list and receive it in your inbox right now! AND, if you’d like to read the blog post all about it, click here!!
Pin this for later:


")
")

")
")


")

+ COMMENTS
add a comment