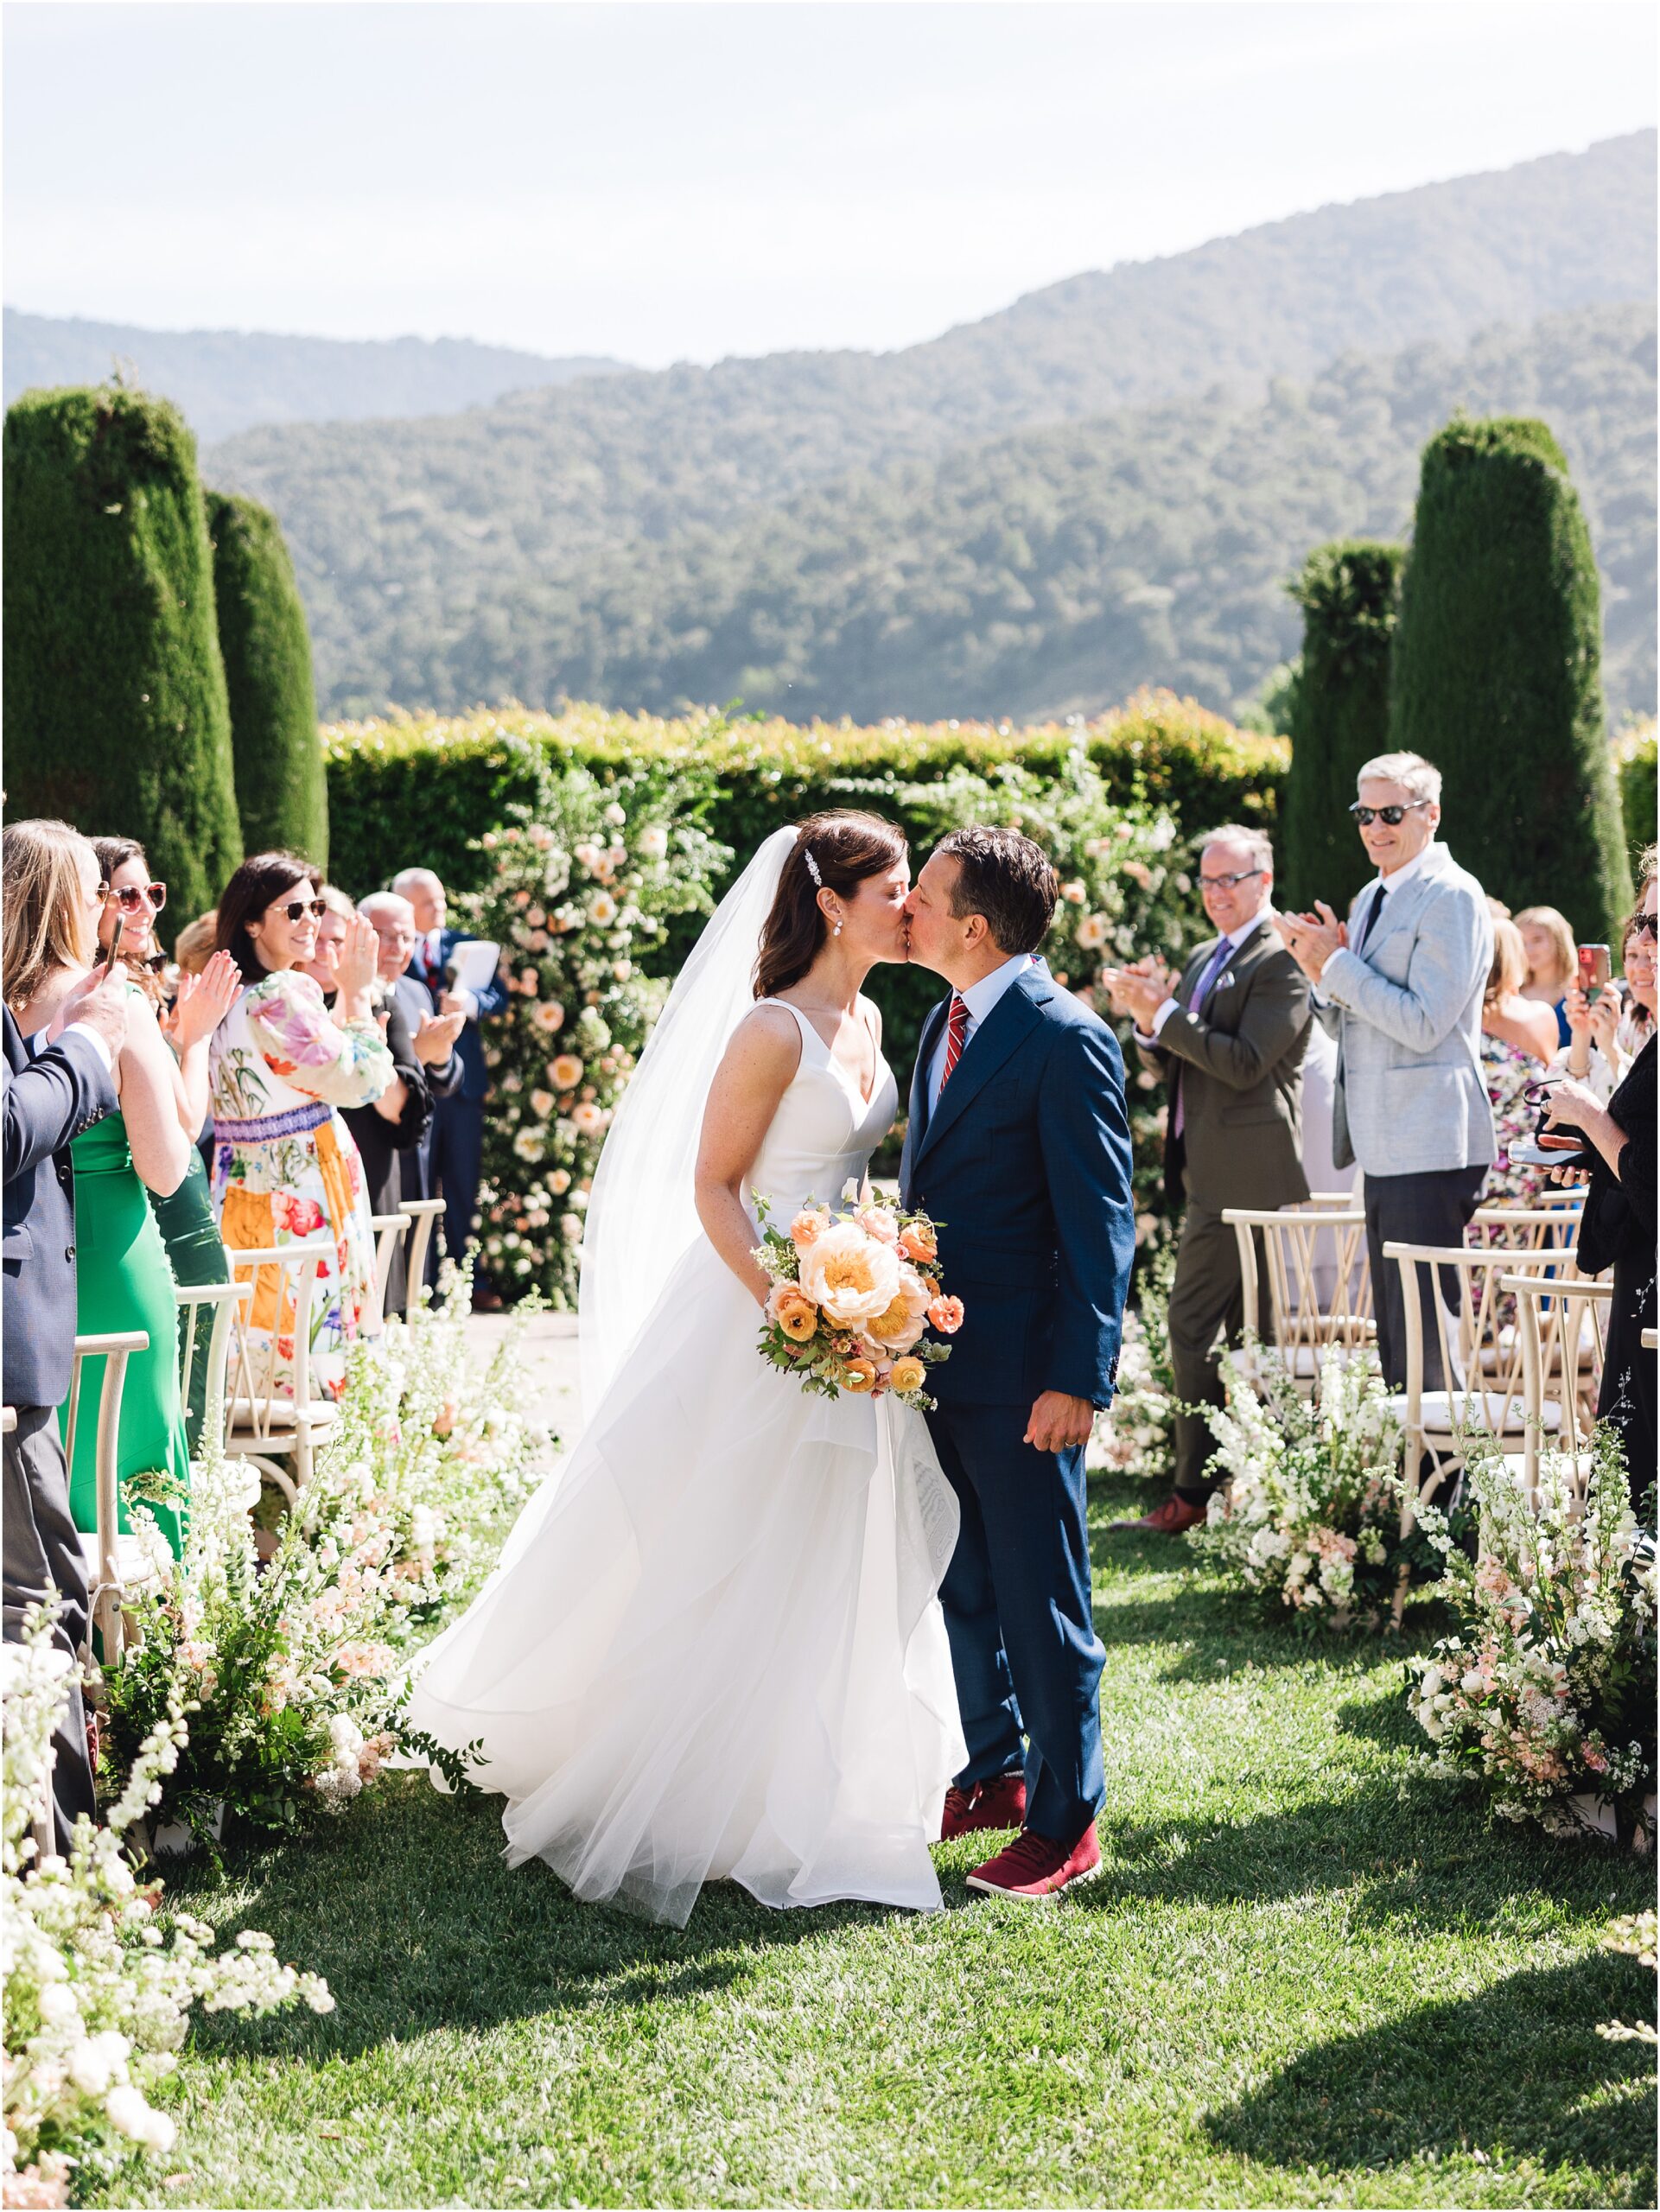
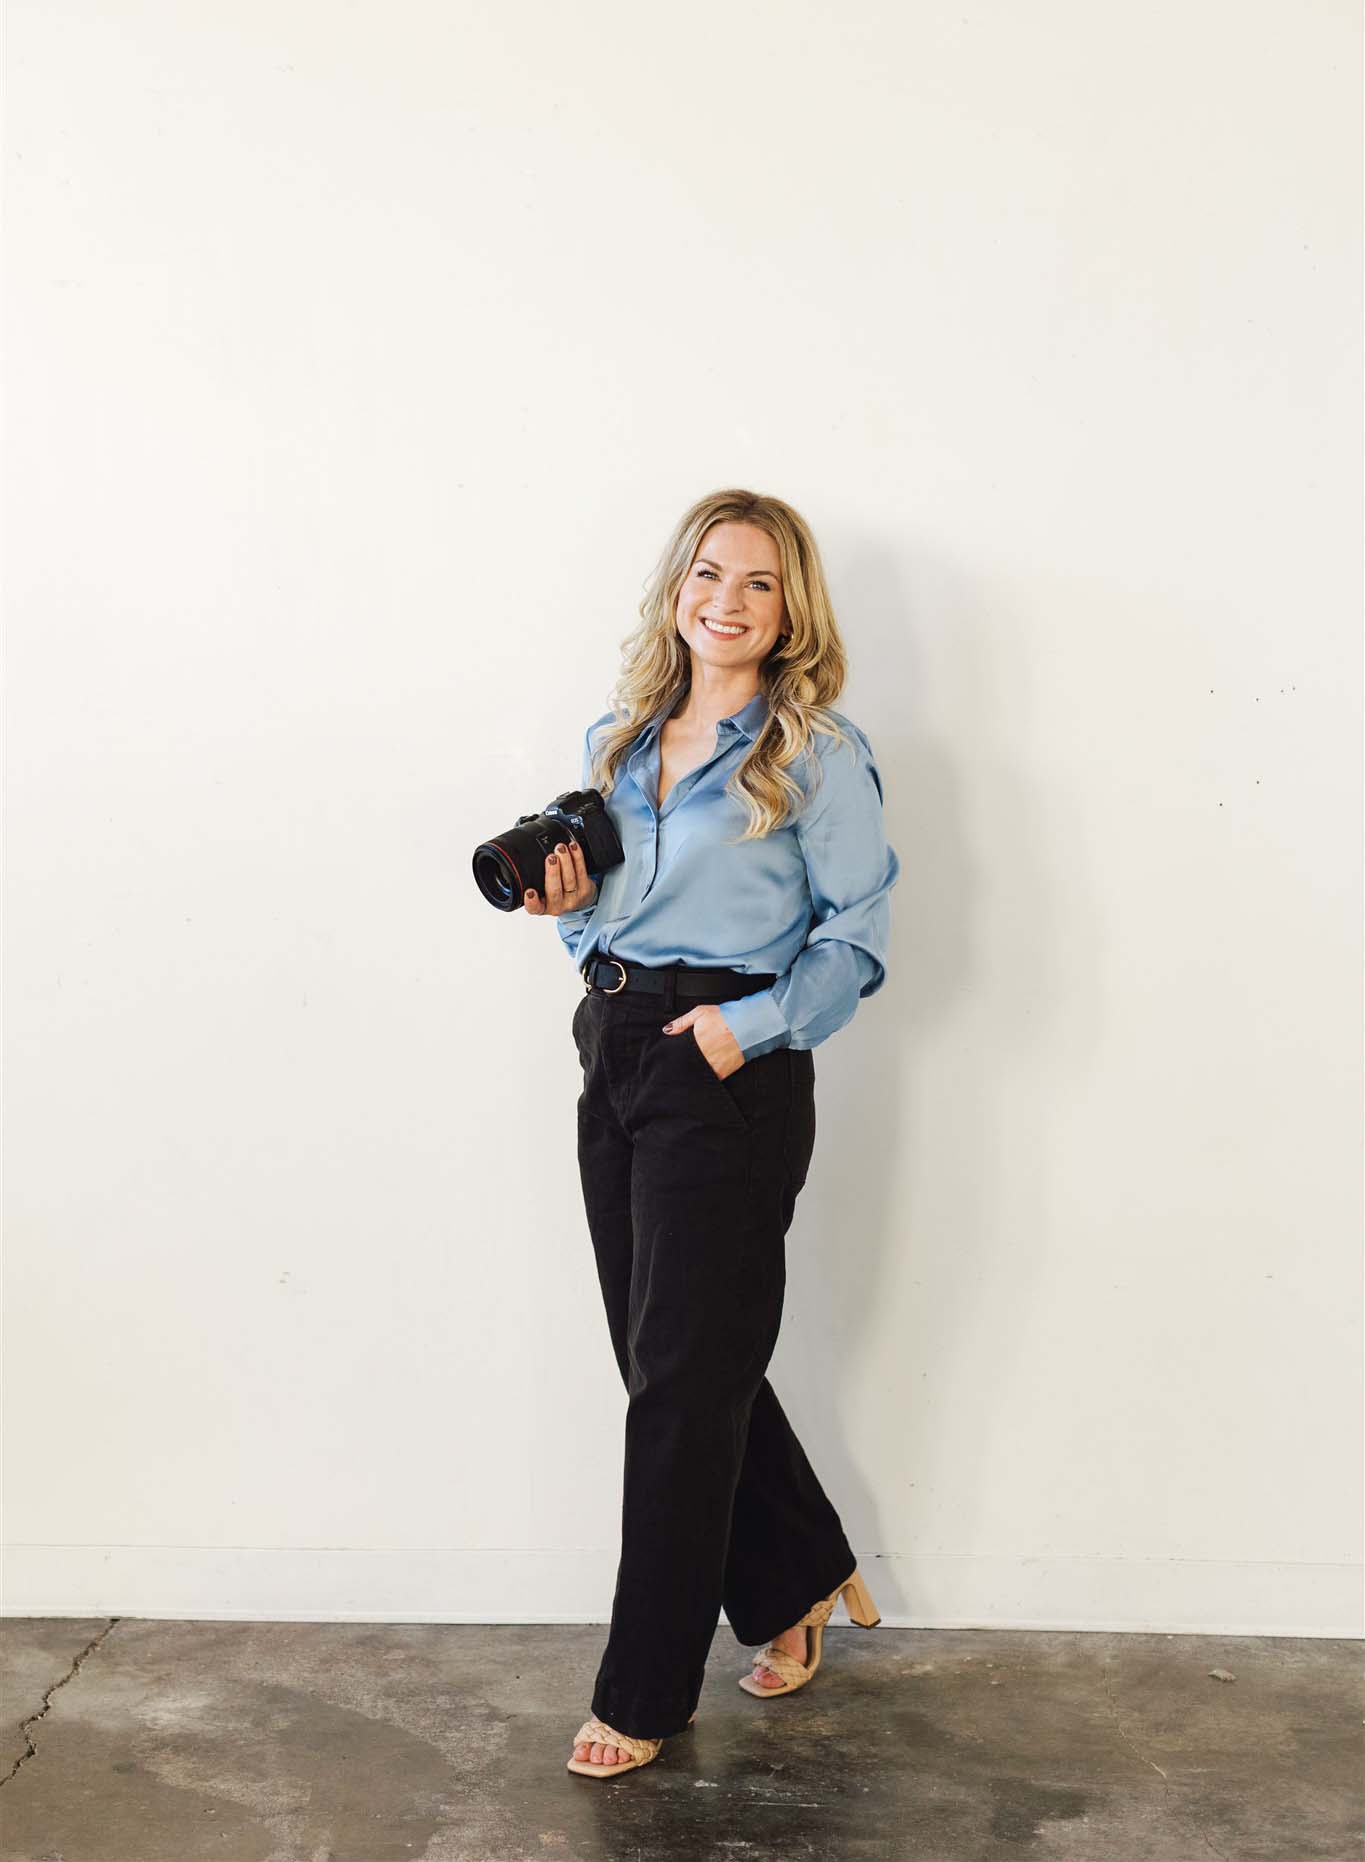
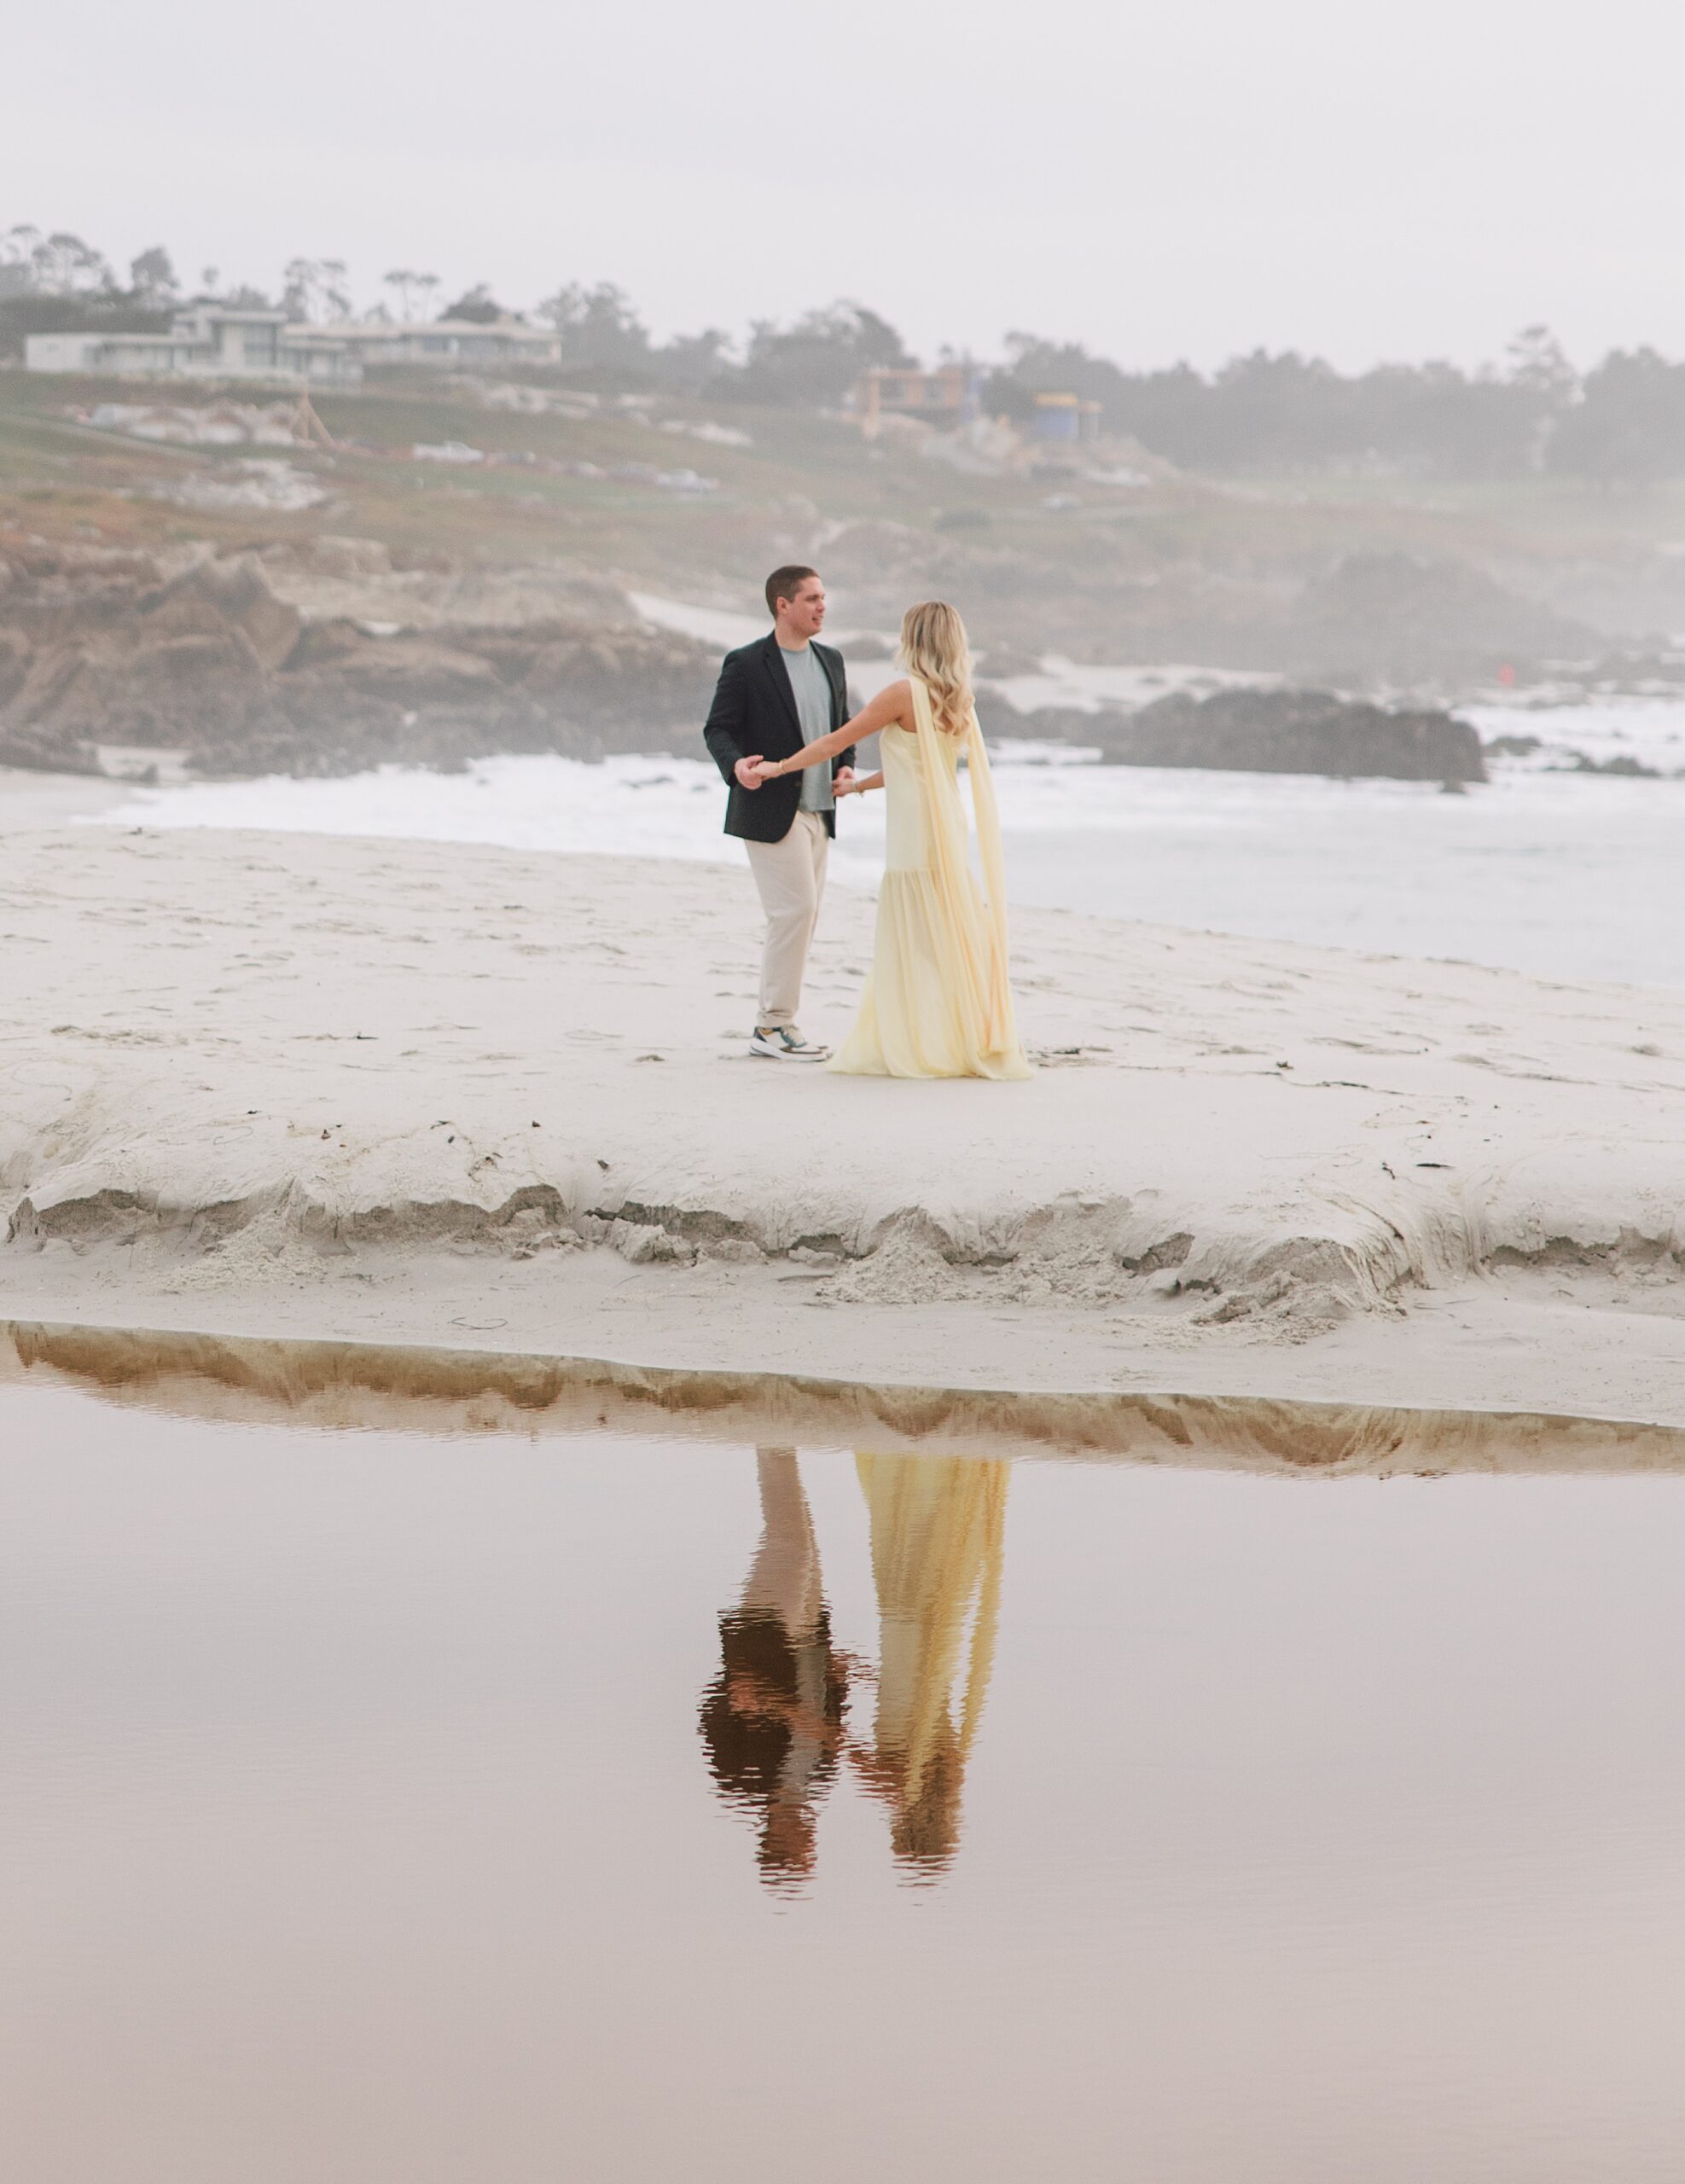
I have been getting a lot of questions about how I make these sliders on IG! So I wanted to share my knowledge with you and offer a free template! Keep scrolling.

To start, you will need either Photoshop or another or another pixel-based photo editor that lets you work with layers. You’ll also need a beginners understanding as to how Instagram images sizing works, see the break down below.
- 1:1 square images are: 1080 x 1080
- 4:5 vertical images are: 1080 (w) x 1350 (h) [this is my preferred ratio for impact with a seamless Instagram slider]
So if you want to create a panorama made out of two vertical photos, you’ll need to duplicate the pixels lengthwise, while the height stays the same: 1080 x 1350 becomes 2160 x 1350. Or if you want to create a panorama made out of three images, you’ll use 3240 x 1350. The same applies if you’re starting off with square images, which will fit into a panoramic space with twice the width (2160 x 1080).
To make it easy for you, I’ve included a link below to download my template package for FREE.
DOWNLOAD FREE IG SLIDER TEMPLATE!
Once you open the template, here are the instructions to follow.
- Open PSD & arrange your photos of how you’d like.The slices are where the image transition happens.
- The PSD has already been sliced so you should be good to go.
- Click Export> save for web (legacy)

- You might have to zoom out to see all your sliced images. Set the image quality to high jpg.

- Click save, and make sure your save box is set to images only.

- Click save and the images will populate in an images folder for you.

- Load them to IG and when you preview the images before you post, you can make sure they are all aligned correctly and in the right order.
- Also, if you want to just do a slider series of 2 or 3 instead of 8 you can still use this template and trash the additional images after the export, or use the other template options in your download.
Woohoo! Have fun creating those eye catching sliders! Please let me know if you have questions.
xo,
Ashley


+ COMMENTS
add a comment